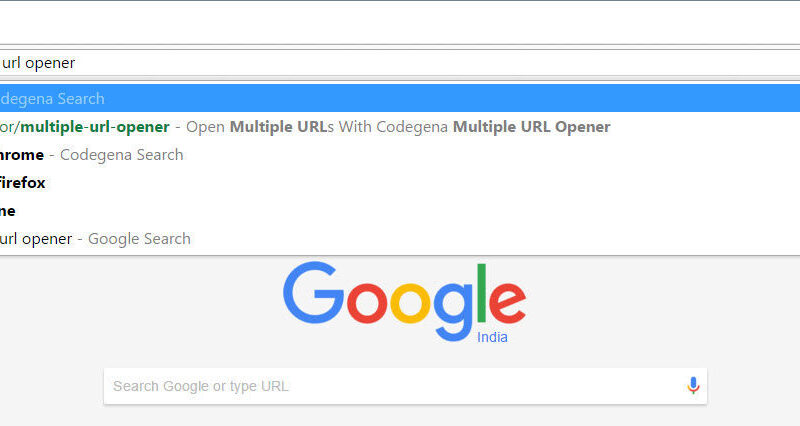
Did you know that you could instantly search and load a Wikipedia page from your Chrome’s URL box? If not, it’s called Omnibox-search and in Chrome, it can be launched by pressing the tab key after entering the website in which you want to search. But not all sites support this feature, webmasters need to do some work to make their site compatible with Chrome’s Omnibox search. If your site is hosted on Google’s Blogger service, then your site is already compatible with this feature. But if you are having a self-hosted site such as a WordPress blog, then this is how you can enable Omnibox search support.
Step 1: Creating search.XML file

Open any text editor and copy-paste the following code snippet into it. Replace Site Name, Site Description, Favicon URL, example.com with the actual values. Now save the file as search.xml
<OpenSearchDescription xmlns="http://a9.com/-/spec/opensearch/1.1/" xmlns:moz="http://www.mozilla.org/2006/browser/search/">
  <script/>
  <ShortName>Site Name</ShortName>
  <Description>Site Description (eg: Search sitename)</Description>
  <InputEncoding>UTF-8</InputEncoding>
  <Image width="16" height="16" type="image/x-icon">Favicon url</Image>
  <Url type="application/x-suggestions+json" method="GET" template="http://suggestqueries.google.com/complete/search?output=firefox&q={searchTerms}" />
  <Url type="text/html" method="GET" template="http://example.com/?s={searchTerms}" />
  <SearchForm>http://example.com/</SearchForm>
</OpenSearchDescription>
Step 2: Upload the file to the root folder of your website
The second step is to upload this newly created file to your website. To do that open up your hosting panel such as cPanel. Go to the root folder and upload the file there. That’s all you got to do in this step.
Step 3: Adding the meta tag
The final step is to add the necessary meta tags to your website. Copy the following meta tag and paste it after the <head> tag. If you are using WordPress, then use plugins such as Per page add to head to add meta tags to the head section of your website source code. That’s it!
<link rel="search" href="http://www.example.com/search.xml" type="application/opensearchdescription+xml" title="You site name"/>To view the search suggestions in Chrome, enter the URL followed by pressing Tab. Start typing your query and the suggestions will be listed below. If you are own Mozilla, use the space key instead of Tab.
Follow this StackOverflow question to stay updated on this topic. If you have any issues, leave a comment and I will help you out.


